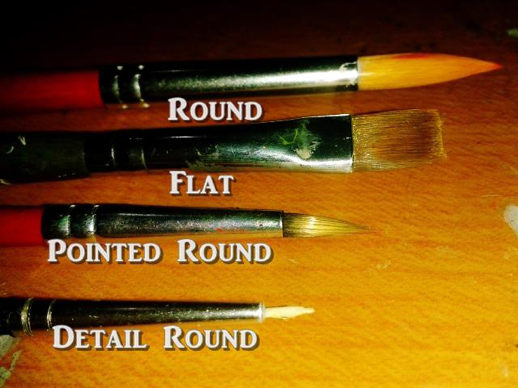
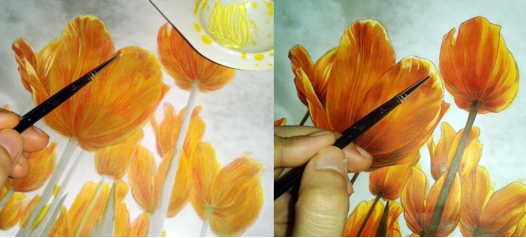
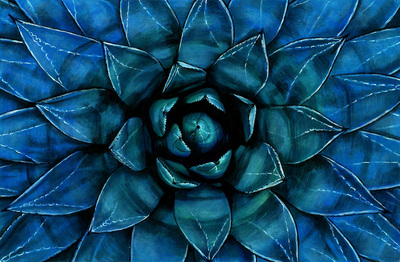
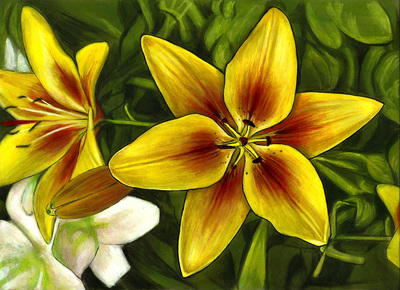
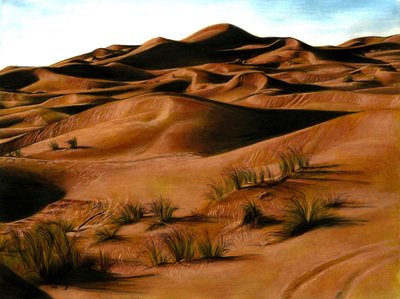
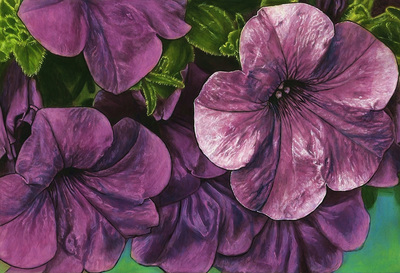
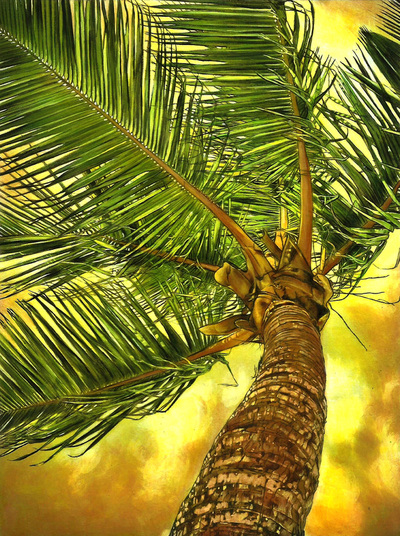
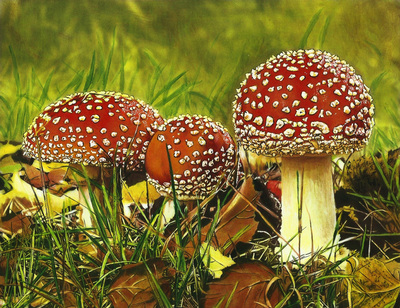
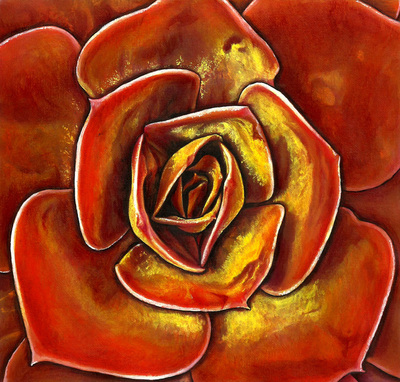
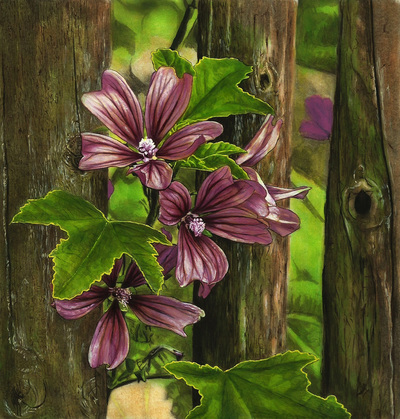
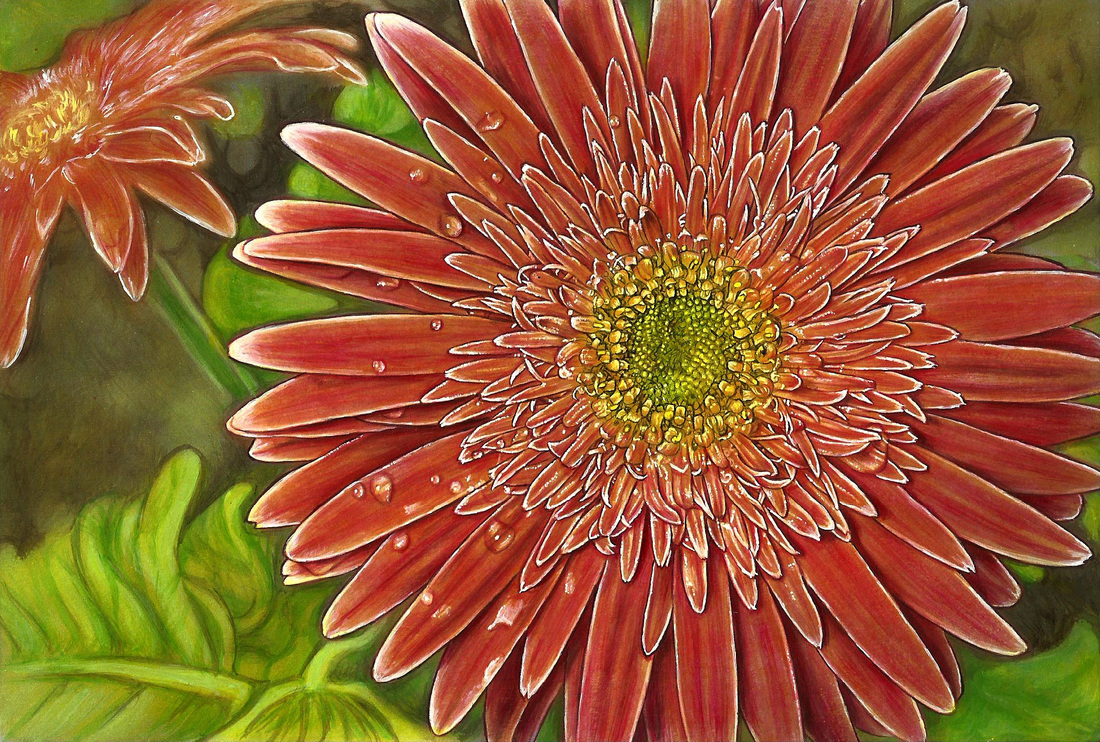
 Colorist: Julie Ann Flores Coloring Book: Beautiful Nature Who Wants to Learn How to PAINT Grayscale? I Do! I Do!In this post we will learn all about painting grayscale from an amazing self-taught artist, Julie Ann Flores. You might recognize her last name because she is the sister of the extremely talented Jones Flores who I did a post about a little while ago! I feel so fortunate to have gotten to know them through their art. They are wonderful and talented women that are excited to share their techniques and knowledge with all that are interested. Let's get started... Below, Julie outlines the 6 key techniques she uses when painting grayscale. She provides an explanation and visual for each technique to paint the tulip field picture below from Beautiful Nature. In addition, Julie provides two slideshows showcasing the 6 techniques. The slideshows provide step-by-step guidance so that you can follow along! One is the Gerbera Daisy (showcased above) and the other is a Lotus Flower. 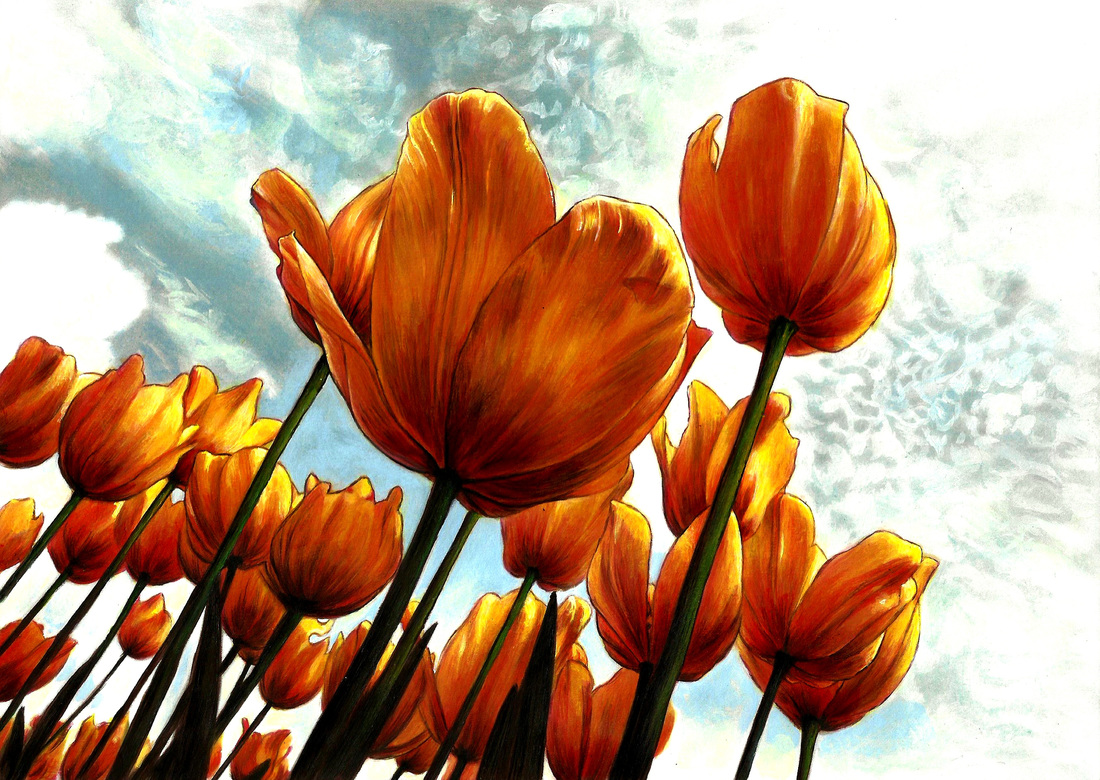 Colorist: Julie Ann Flores Coloring Book: Beautiful Nature Materials Needed
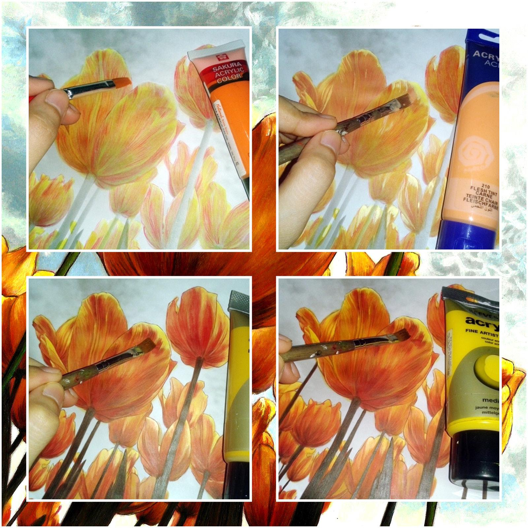
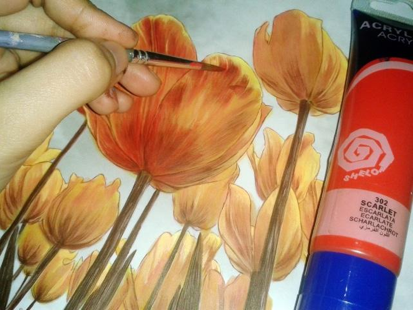
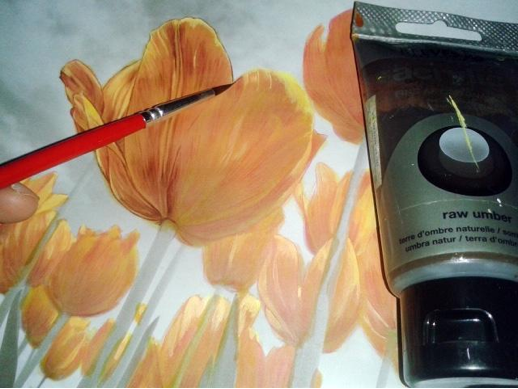
Selecting Your Color PaletteAll your colors can be achieved through mixing of the three primary colors: red, yellow and blue. You can also use secondary colors (green, purple and orange) if you don't wish to create all your colors from the three primary colors. First, prepare your main color. In the tulip field example below my main color is orange. It is a product of the primary colors yellow and red. Therefore, for the highlights I used yellow mixed with white paint. For the shadows, I can use red, or a darker shade of orange like brown can be used for the shadows by mixing orange with blue or red + green. Black and white paint must always be present on your palette for the outlines and highlights. Adding another tone or layer of color will always compliment your main color. I added a layer of flesh tone paint to make it more realistic and finish it with a layer of medium yellow to achieve the vibrancy I wanted. A Brief Overview of the ProcessWhen it comes to painting grayscale the most important thing is keeping the gray lines as visible as possible in order to preserve your guide. The first thing I do is create an underpainting. Underpainting is just following the grayscale guide. It is made up of:
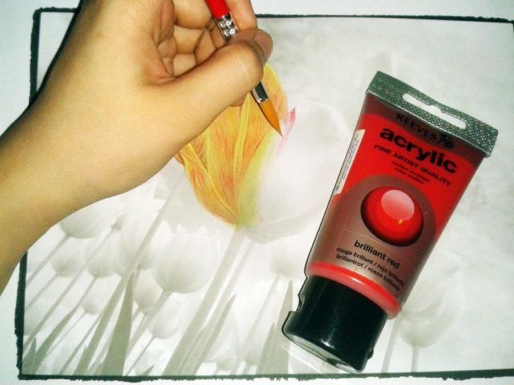
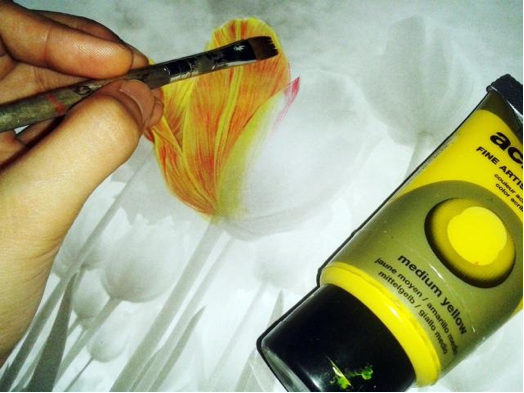
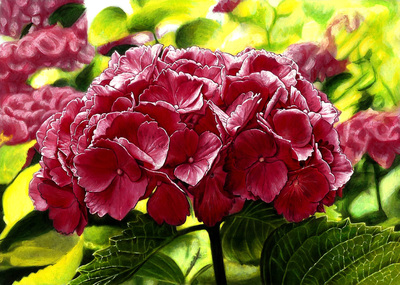
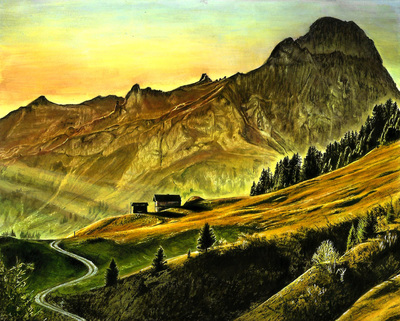
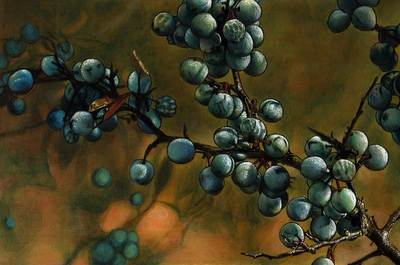
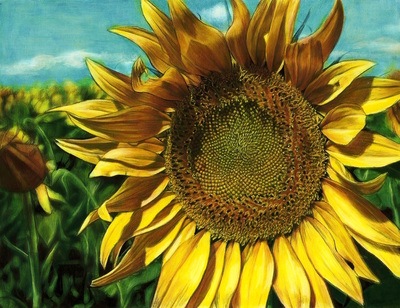
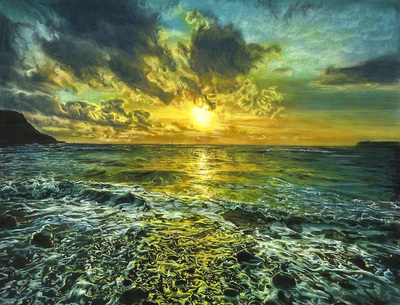
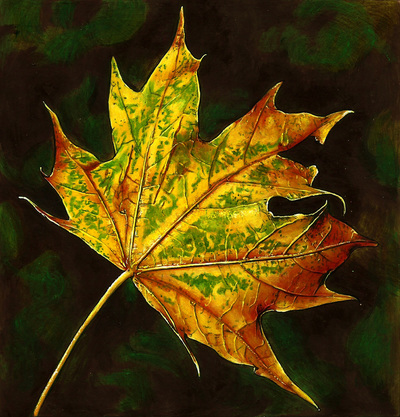
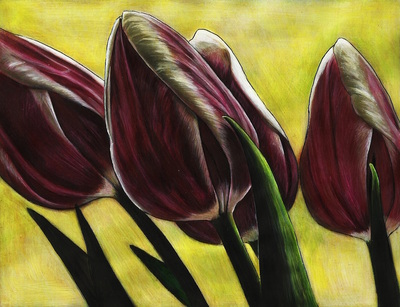
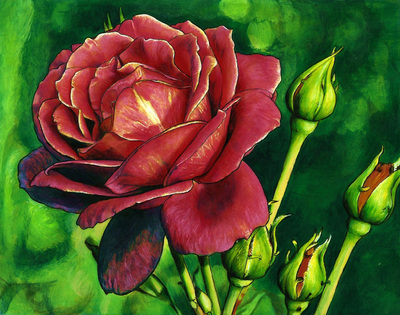
I mostly do the Outlines before the Base Color and after the finishing touches because when you add more layers of color it will become more difficult to see the grayscale. Highlighting is where you cover the lighter part of the grayscale with white or a lighter shade of your primary color. The Shadow effect can be done after doing the Details. You can do Outlines and the Shadows before or after the Base Color by using a darker shade of a particular color for the shadowing effect. To add more life to your work you can apply the Layers of Colors Technique, adding Details in between layers. Then, finalize your work by covering all the visible gray with the last Layer of Color. Add more Outlines and darken the Shadows to emphasize your object. Remember, it is always important to let your paint dry between layers of color. The thicker and more absorbent the paper the better it will work for painting (the paper in Beautiful Nature works really well!) but the longer it will take to dry. Now I will provide greater detail on the specific techniques I use. The 6 Techniques for Painting GrayscaleTechnique 1: Line Stroke Technique Usually, the first thing I do is to create an underpainting using the grayscale as a guide. Using a Point Round or Round Brush, follow the Line Stroke technique to create a texture-like effect. This technique is very useful when it comes to flower petals. Using the grayscale as your guide, create lines with a darker paint shade based on your main color. I wanted my petals to be flesh to orange so I used brilliant red paint to be my underpainting color. Continue with the Line Strokes while holding your brush lightly. The most important note for this technique is how you control your brush. With your brush pointing downward use the line stroke upward (watch the video below). This makes it easier to create more fine lines. It is a sketching/drawing-like stroke. Line Stroke Technique can be used when you’re adding more contrast and details. It is the technique I use most when painting. Technique 2: Flat Wash Flat Wash is similar to watercolor painting. The base color and layers are both done in Flat Wash Technique. For the base color, using a flat brush, mix medium yellow paint with water. But make sure you add more water and just a small amount of paint because it is a base color and therefore you want it to be very fine and thin. Dry or drain some of it on a tissue before applying it on the coloring book so it won't smudge, or drip on your work. Medium yellow or lemon yellow is my favorite color for the base because it is more vibrant and transparent, at the same time preserving the grayscale guide. When you're doing the Flat Wash Technique it is advisable to use transparent paint rather than opaque. If you're using opaque paint then make sure you add more water to dilute the paint because it will hide or cover the underpainting. Watch this brief video to see the Flat Wash Technique. Technique 3: Layers of Color This is my favorite technique for making the painting more realistic. Layering can be done with either Flat Wash Technique or Line Stroke (with a Round Brush). You can add Layers of Colors of your choice. I recommend it if you want to add more life to your work. Always make sure your painting is dry enough before adding another color. To achieve more vibrant colors use Flat Wash Technique to add another layer. If your color is red then I suggest using yellow (Medium Yellow, Lemon Yellow, & Yellow Ochre) paint to achieve a vibrant effect. If instead you wanted to tone down your color you might want to add a layer using Burnt Sienna paint, it is also one of my favorite and most frequently used paint colors. Technique 4: Highlights Highlighting is mixing your main color with white. Mix it with less than a drop of water. Use a detail round brush. It adds more dimension to your work to make it more realistic. If you want a sparkling type of effect you might want to use a dot technique using Titanium White paint. You can see a good example of highlighting with the dot technique in my wild blueberries painting in the examples at the end of this post. Technique 5: Shadows For shadows you should use the darker shade of your primary color. I suggest you shade what would be like the "corners" of the images you are painting. It will add more shadows and dimension. In the finishing touches use a black/brown color to emphasize the shadows of your object. This will create a 3D effect. You can use Line Stroke Technique to create more fine shadows with a round brush. Technique 6: Outlines & Details Outlining Technique can be done either before doing the base or after the finishing touches. I usually do both: outlining before and after using a detail round brush to outline your object with a darker color. Then, I add some details and finishing touches. Detailing can be very tricky yet it can be very satisfying and make the final result even more realistic. Slideshows: Application of the Techniques From Start to FinishThe slideshows below will take you through the steps Julie followed to paint the gerbera daisy and the lotus flower. At the bottom of each picture in the slideshow you will see information on which of the 6 techniques she used for that particular step as well as the paint color she used. Gerbera Daisy Slideshow of the Painting Process Technique and paint color(s) used are listed in each photo's caption. Lotus Flower Slideshow of the Painting Process Technique and paint color(s) used are listed in each photo's caption. Gallery of ExamplesFeeling inspired to try painting a grayscale picture? I sure am! If you are still on the fence then check out some more of the incredible grayscale pictures Julie has painted. These will provide some fabulous inspiration :-). I hope that this post has inspired you to try painting grayscale. If you have any questions for Julie please be sure to comment below. If you'd like to learn more about Julie, check out the following links:
Website: http://www.julieannflores.portfoliobox.net/ or http://jaf-artwork.deviantart.com/ Facebook: https://www.facebook.com/JAF.Gallery/ Instagram: @julieannfloresrn Happy Coloring!
Debv
8/11/2016 06:20:20 pm
Fabulous tutorial. Very helpful.
Nicole Stocker
8/11/2016 09:19:09 pm
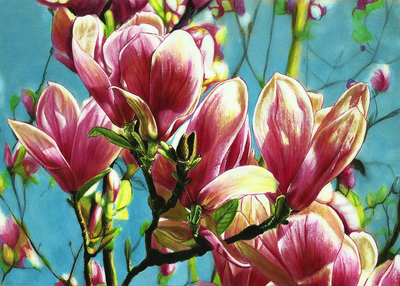
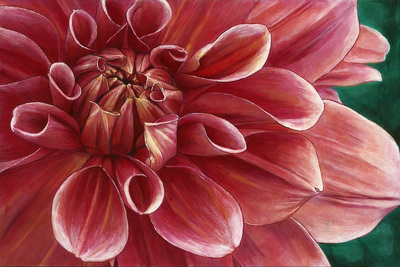
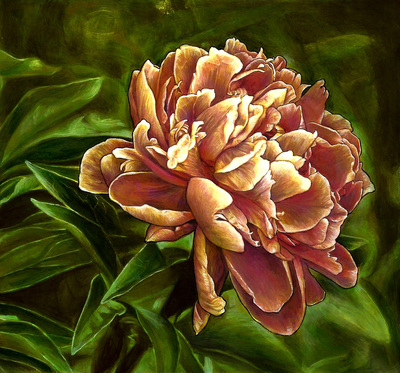
I'm glad you found it helpful! Yes, in all three of the flower examples below Julie started by doing an "underpainting" in a red or pink color. Then, she layered other colors over that to get to her final flower color. If you watch the slide show for the daisy or the lotus flower you will be able to see each individual step, including each layer that she did to build up to her final color. I hope this helps! Let me know if you have any other questions. I can always ask Julie to jump in with more info :).
Rozie
8/11/2016 06:56:08 pm
Can you show GreyScale coloring using color pencils ... Please and thank you
Nicole Stocker
8/11/2016 09:25:19 pm
Rozie, you can find a bunch of colored pencil video tutorials for coloring grayscale here: http://www.huelish.com/grayscale-coloring-techniques/the-comprehensive-collection-of-grayscale-coloring-video-tutorials#pencils
Jones F.
8/12/2016 03:55:06 pm
WOW! Amazing Job!!! I love it and I've learned a lot!!! <3
Sheila OBee
8/29/2016 04:41:44 pm
Do you use reference photos?
Julie
8/29/2016 09:04:20 pm
Hello Sheila! Yes I do have and used reference photo at first but I paint with a color of my choice and experiment by adding different layers of color to make it more realistic. It is more fun that way 😊. Lastly, I add more higlights and shadows to ephasize the object 😄 one way to achieve a 3d like effect. Comments are closed.
|

